Inkling Versus

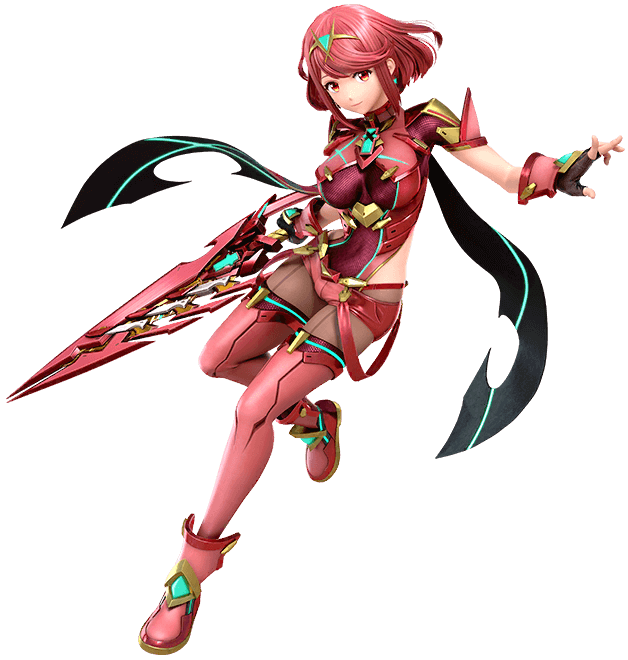
Pyra
Up Throw > Up Air (Boo-Yah)
Range
114% - 126%
| Rage | Ink | |||||
|---|---|---|---|---|---|---|
| NONE | HALF | > | FULL | |||
| +0 | -3 | -5 | -6 | |||
| 0% | +0 | 114 | 111 | 109 | 108 | |
| 50% | -3 | 111 | 108 | 106 | 105 | |
| -4 | 110 | 107 | 105 | 104 | ||
| 100% | -12 | 102 | 99 | 97 | 96 | |
| -15 | 99 | 96 | 94 | 93 | ||
| 150% | -22 | 92 | 89 | 87 | 86 | |
| -25 | 89 | 86 | 84 | 83 | ||
Syndromes!
Multi Range130 - 134
There’s a second or more percent range where Boo-Yah still works.
Spot127 - 129
There’s a specific spot to aim for on the character for Boo-Yah to work. Can be underneath, to the left or right. For more details look for the character in the boo-yah google doc or check this Tweet Video.
During a Boo-Yah, there are some special conditions to take into account for certain characters. It can make it harder or easier for Inkling depending on what it is.
For more details visit the boo-yah google doc
Prefer (Up Smash) After Roller
First hit of Up Smash WILL unbury enemy
Down Smash WILL HIT on Ledge
Down Smash HITS when enemy stalls ledge
Rising Short Hop Forward Air
HITS when enemy is standing
MISSES when enemy is dashing

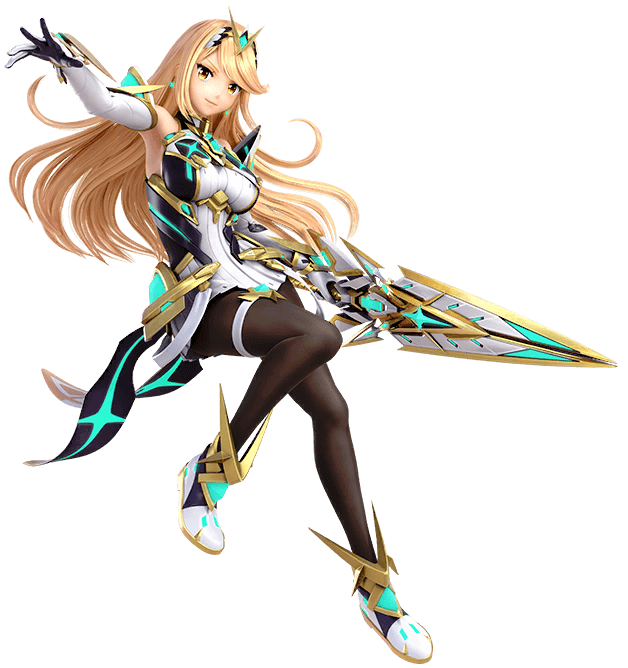
Mythra
Up Throw > Up Air (Boo-Yah)
Range
110% - 120%
| Rage | Ink | |||||
|---|---|---|---|---|---|---|
| NONE | HALF | > | FULL | |||
| +0 | -3 | -5 | -6 | |||
| 0% | +0 | 110 | 107 | 105 | 104 | |
| 50% | -3 | 107 | 104 | 102 | 101 | |
| -4 | 106 | 103 | 101 | 100 | ||
| 100% | -12 | 98 | 95 | 93 | 92 | |
| -15 | 95 | 92 | 90 | 89 | ||
| 150% | -22 | 88 | 85 | 83 | 82 | |
| -25 | 85 | 82 | 80 | 79 | ||
Syndromes!
Spot121 - 129
There’s a specific spot to aim for on the character for Boo-Yah to work. Can be underneath, to the left or right. For more details look for the character in the boo-yah google doc or check this Tweet Video.
During a Boo-Yah, there are some special conditions to take into account for certain characters. It can make it harder or easier for Inkling depending on what it is.
For more details visit the boo-yah google doc
Prefer (Up Smash) After Roller
First hit of Up Smash WILL unbury enemy
Down Smash WILL HIT on Ledge
Down Smash HITS when enemy stalls ledge
Rising Short Hop Forward Air
HITS when enemy is standing
MISSES when enemy is dashing